Pages

Showing posts with label DIY. Show all posts

Wednesday, October 30, 2013

One Girl Bicycle Club


20130726-004551.jpg

Today I was excited to receive my One-Girl Bicycle Club zines in the mail. I just sat down with a cup of tea and read through all four issues.

This was my first time reading a zine, and now I'm intrigued. I love the freedom, honesty, raw emotions, and bravery that I found in Sonya's writing. I can relate to many topics that she talks about in her zine from college to driving, and making/keeping friends to getting out of your house. I enjoyed the progression from zine one to four, and the growth Sonya has done before my eyes in a few pages.

She has definitely inspired me to try my hand at making a zine, even if no one should ever read it, just for me to chronicle this time in my life. Sonya wrote a blog post on the benefits of writing a zine that's a must read.

A few of my favorite quotes from One-Girl Bicycle Club:

"Basically, I don't know how to function as an adult." Issue 4

"I want to be a maker of things. I don't want to work under people- I want to work for me..." Issue 3

"...but what if I need two copies of Bitch magazine and a book..." Issue 2

"Feminerdism (that's a word now)" Issue 1

There are so many more, but I guess you'll have to pick up your own copy! Also,check out all the rad playlists.

Do you read zines? Write zines? I'd love to check them out, leave a link in the comments.

Also, check Sonya out here: Blog Etsy Twitter

***This is a repost from my old  Wordpress Blog ****

Thursday, August 15, 2013

Lavender Sugar

All summer I've seen several posts on Twitter and Instagram about lavender coffee, and how delicious it is. As a fan of lavender, I've been dying to try it but there isn't a local coffee house that serves it.

This past weekend at the farmer's market there was a lavender booth. The family that owns the lavender farm, Thistledew Farms, were super nice and knowledgable. I ended up buying a small vial of culinary lavender and a big jar of bath salts.

She told me I could just put the lavender in my tea, coffee, and lemonade OR make lavender sugar. I wanted to share the recipe she gave me and a little step by step for anyone who has been wanting to try a little lavender in their drinks or food.

LAVENDER SUGAR RECIPE from Thistledew Farms

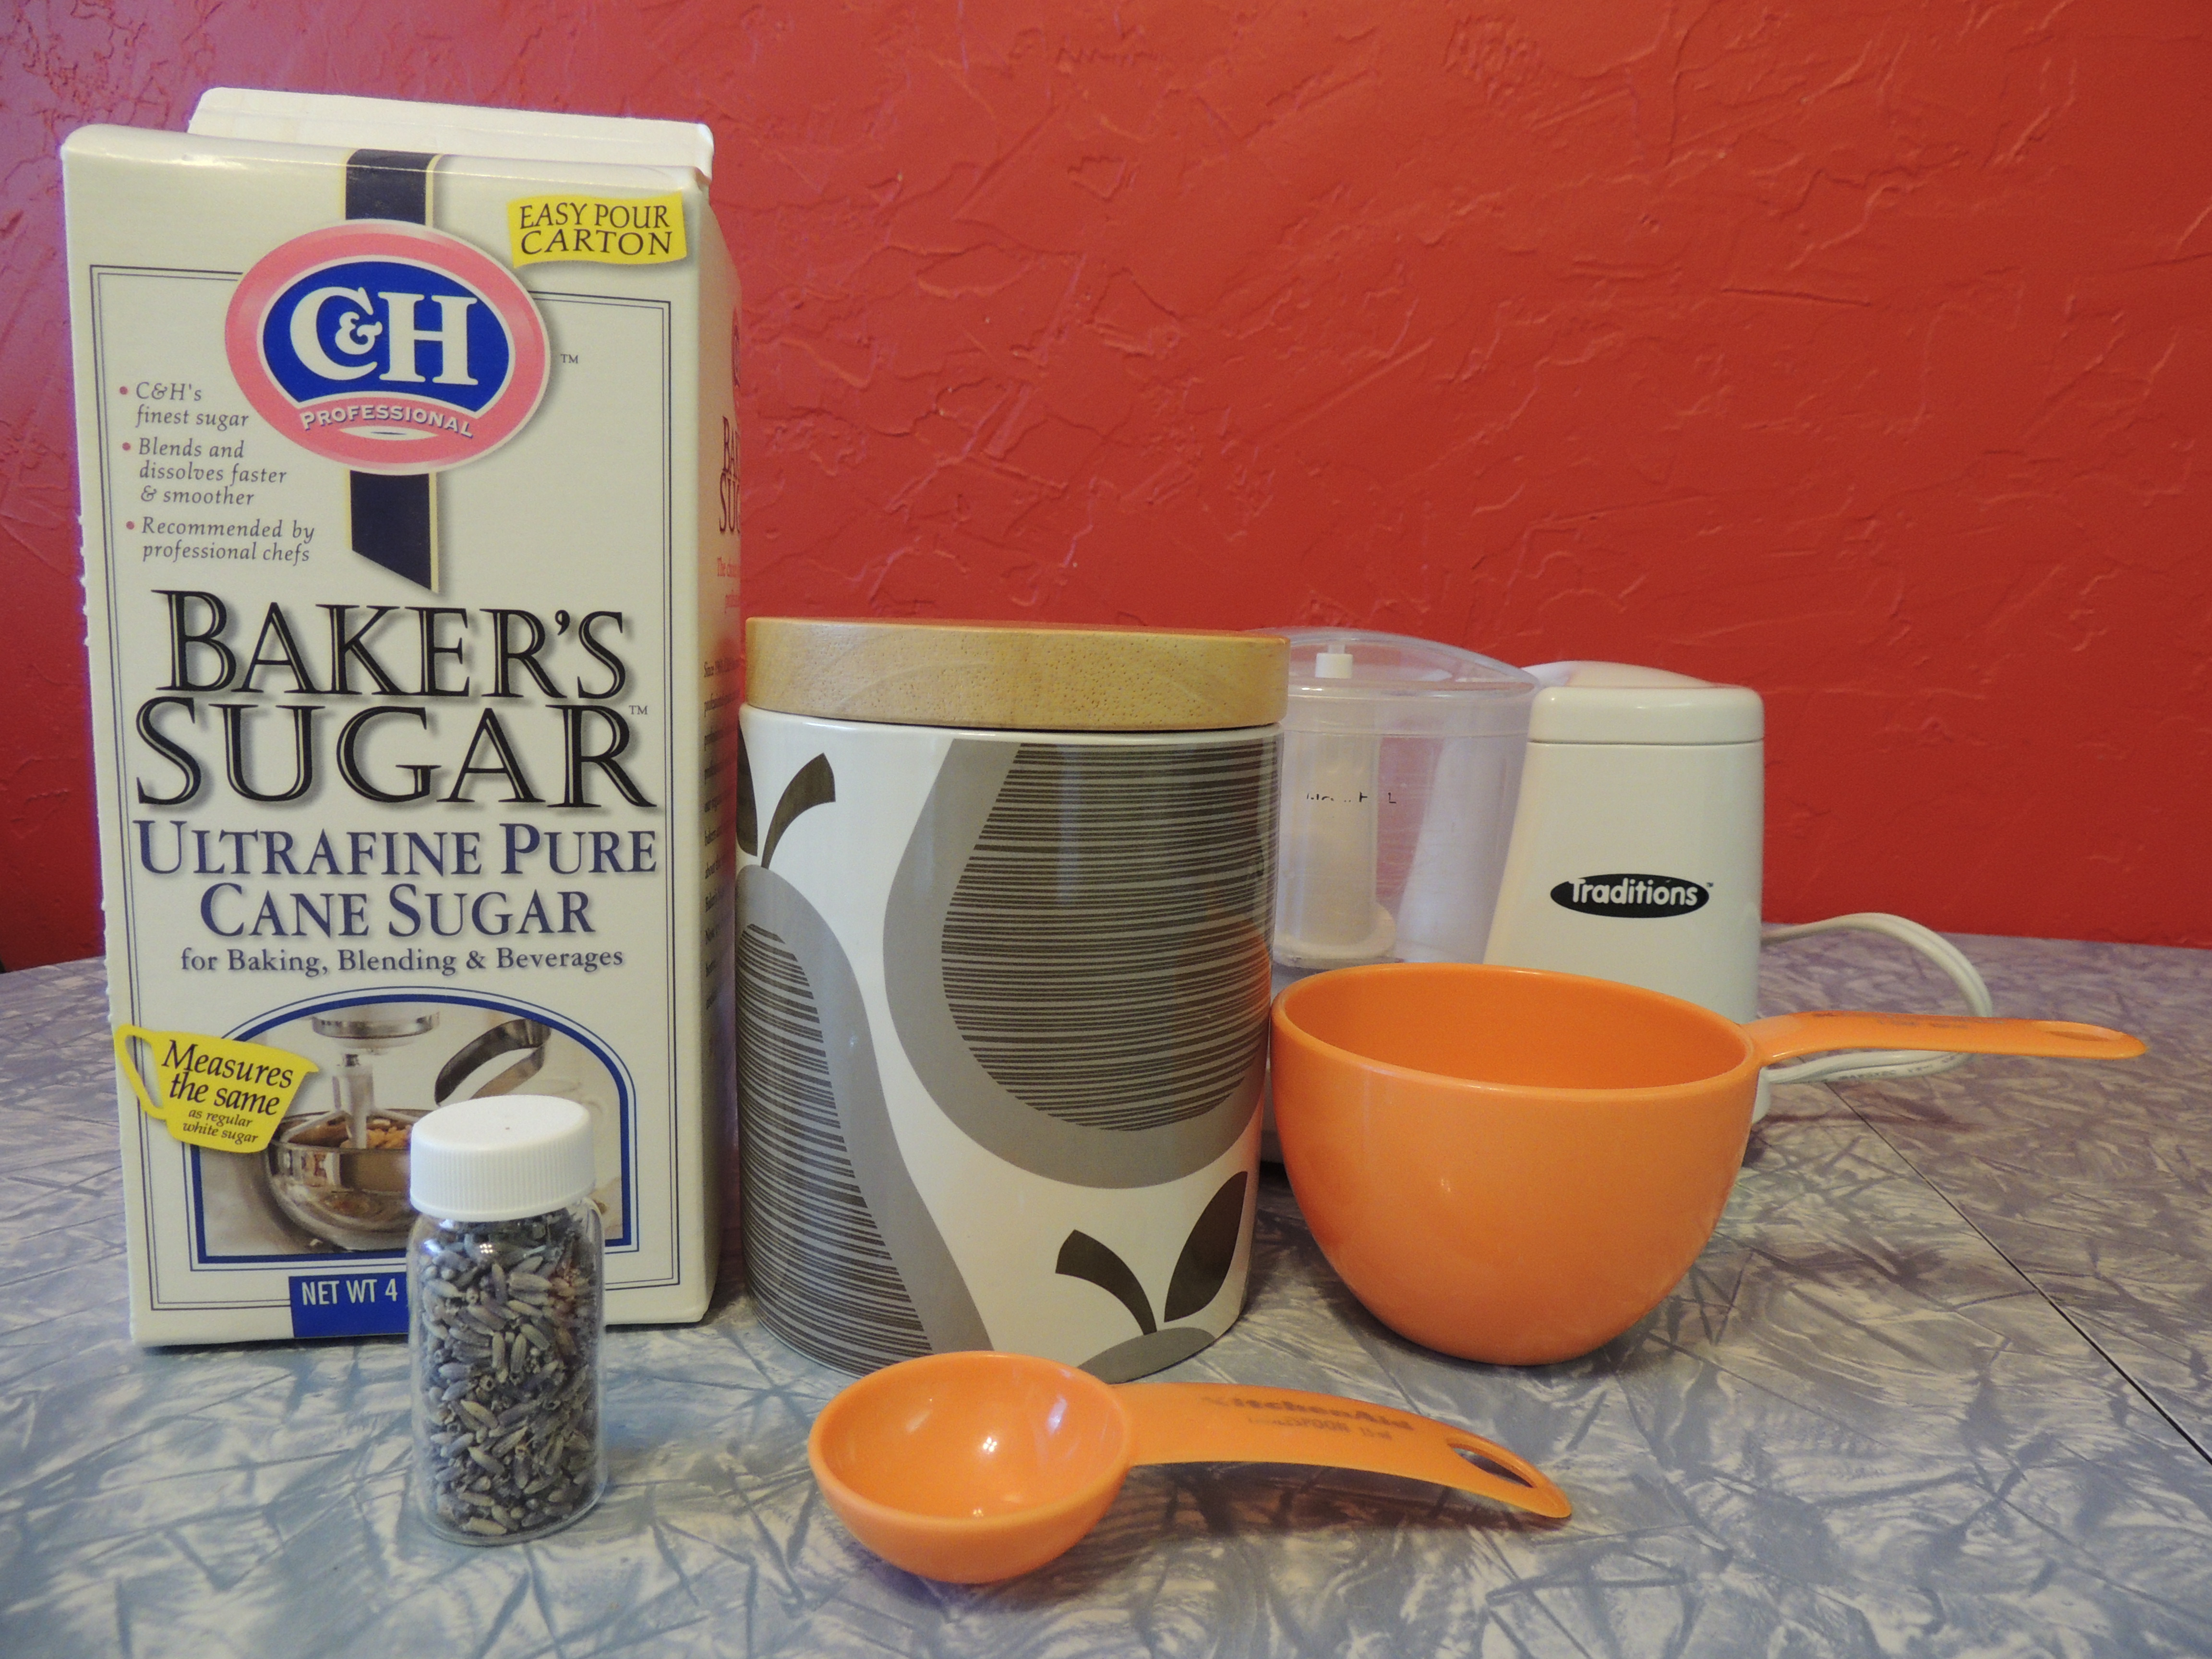
DSCN1196Materials needed:


2 cups of sugar


1 tbsp culinary lavender buds


measuring cup/spoon, blender (or food processor, spice grinder), air tight container


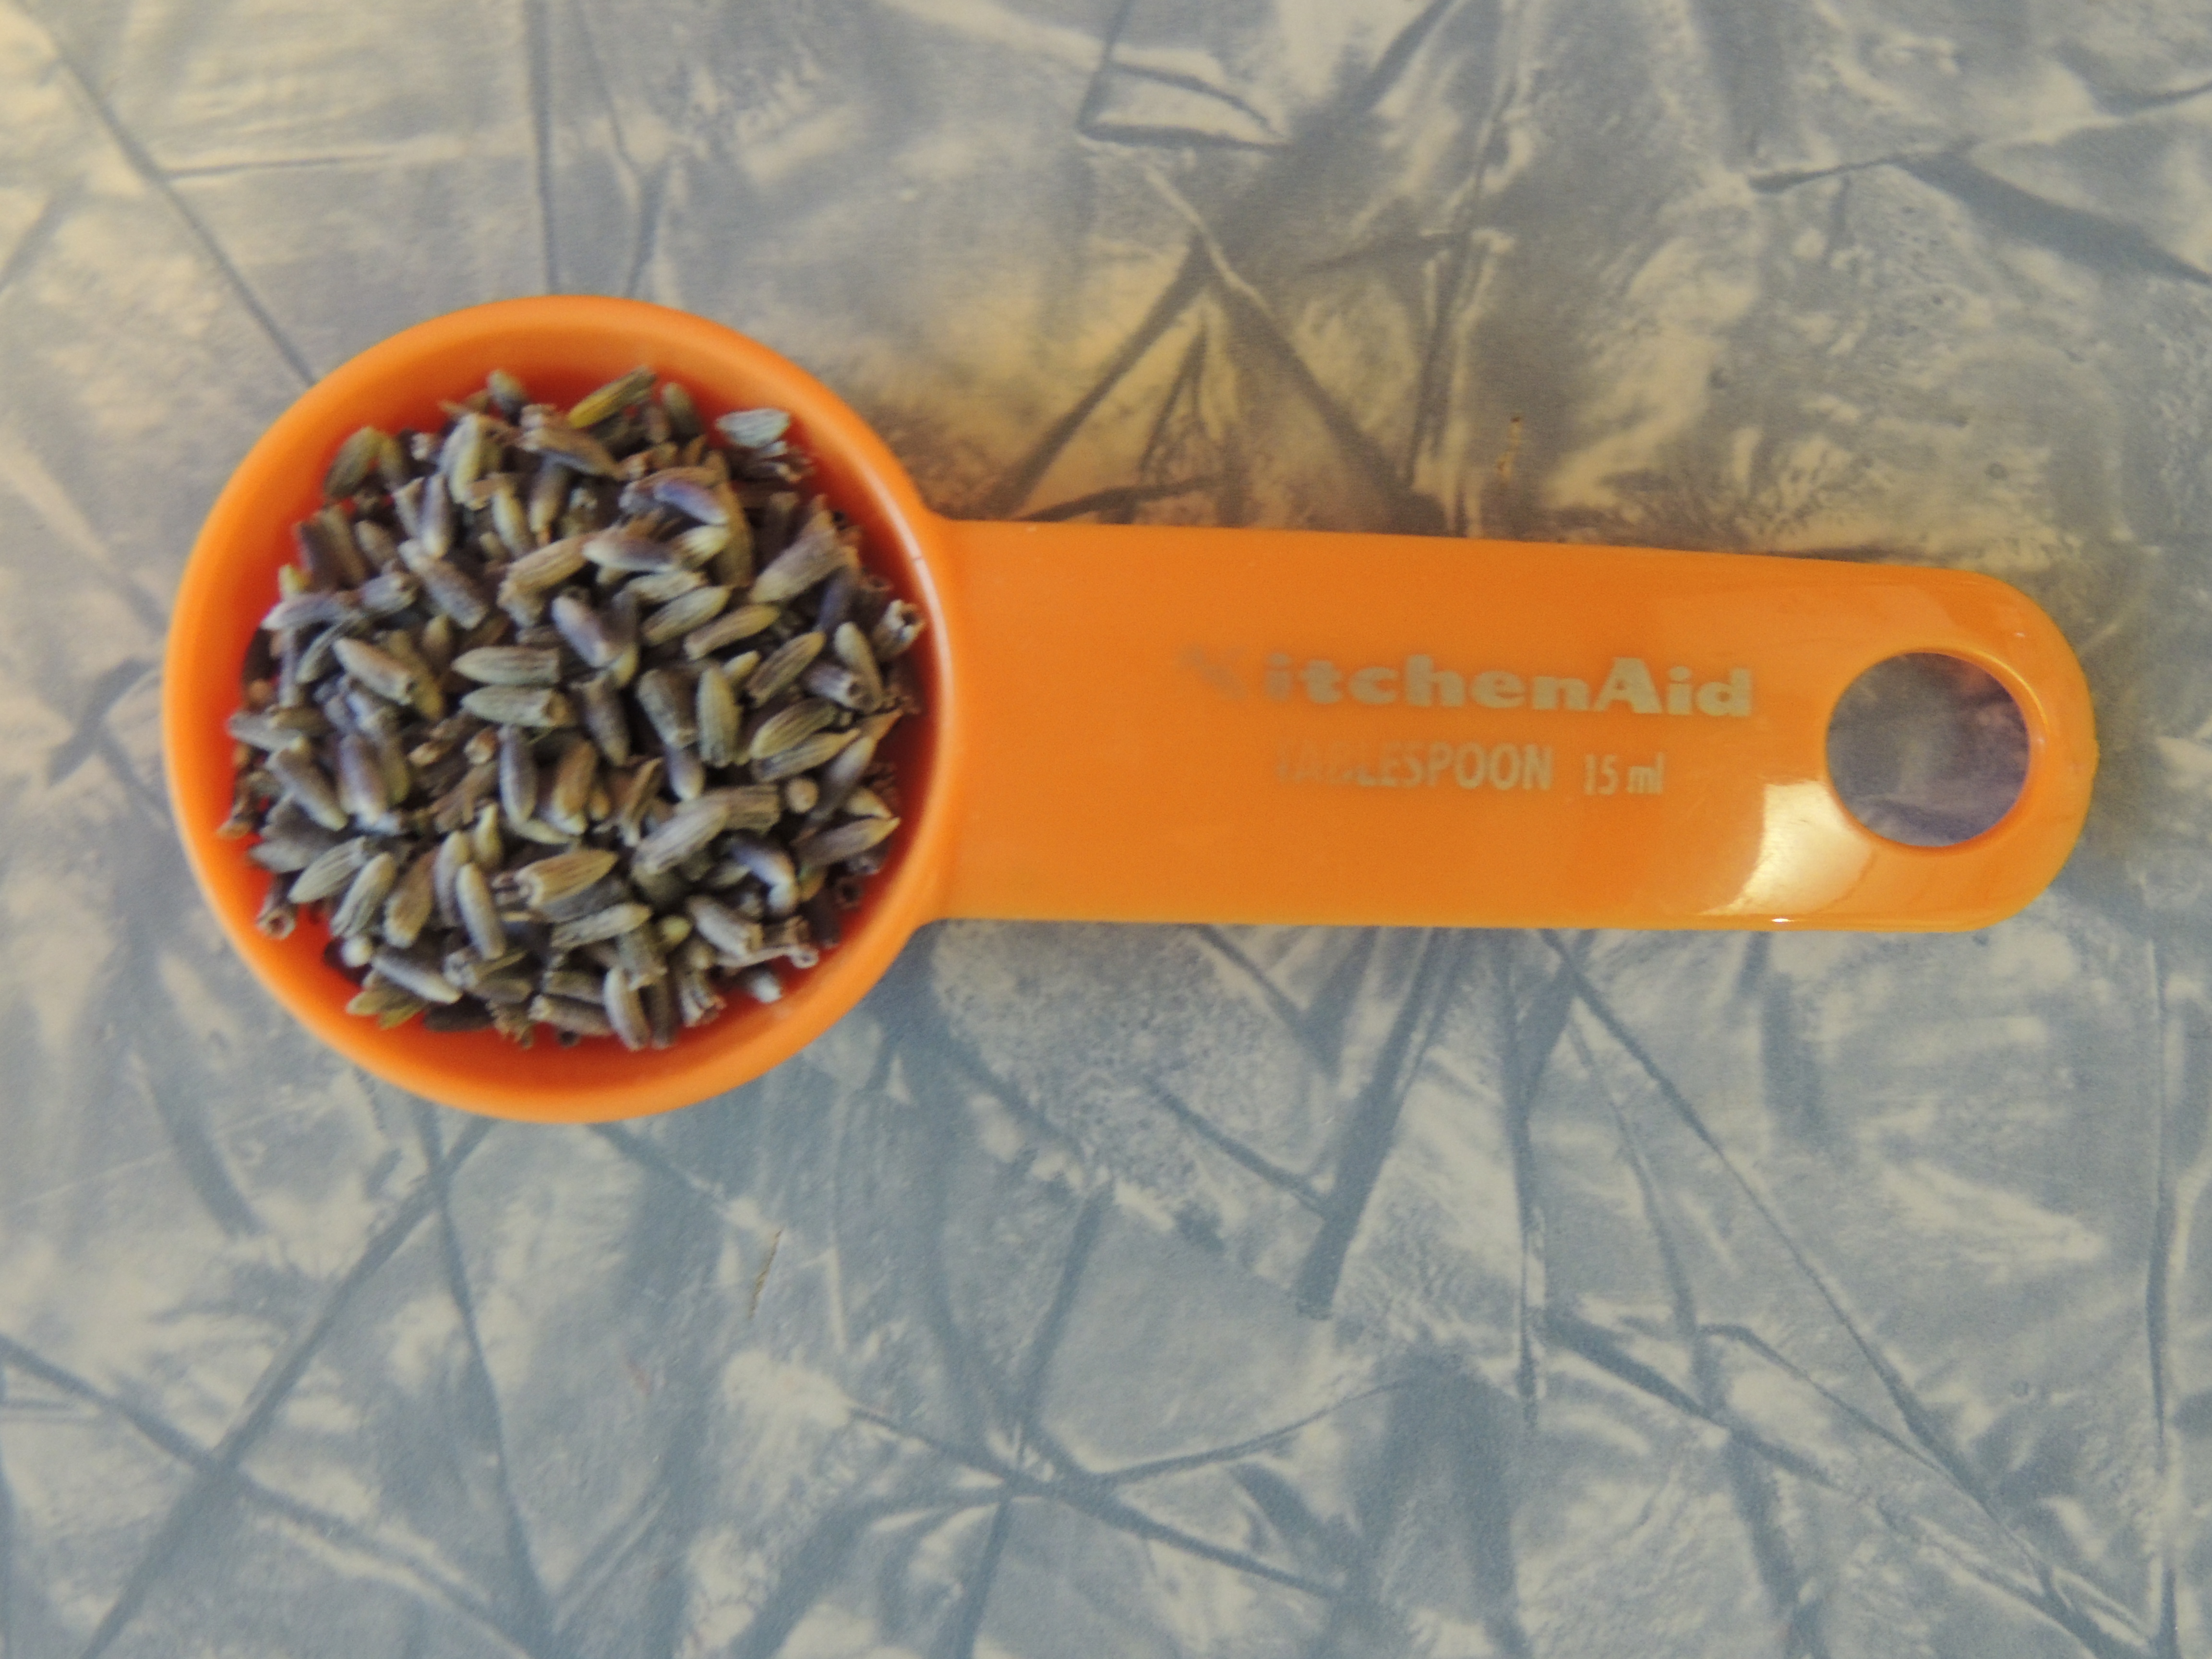
DSCN1198Measure out 1/4 cup of sugar and 1 tbsp of Lavender


DSCN1199Look how pretty the lavender buds are!


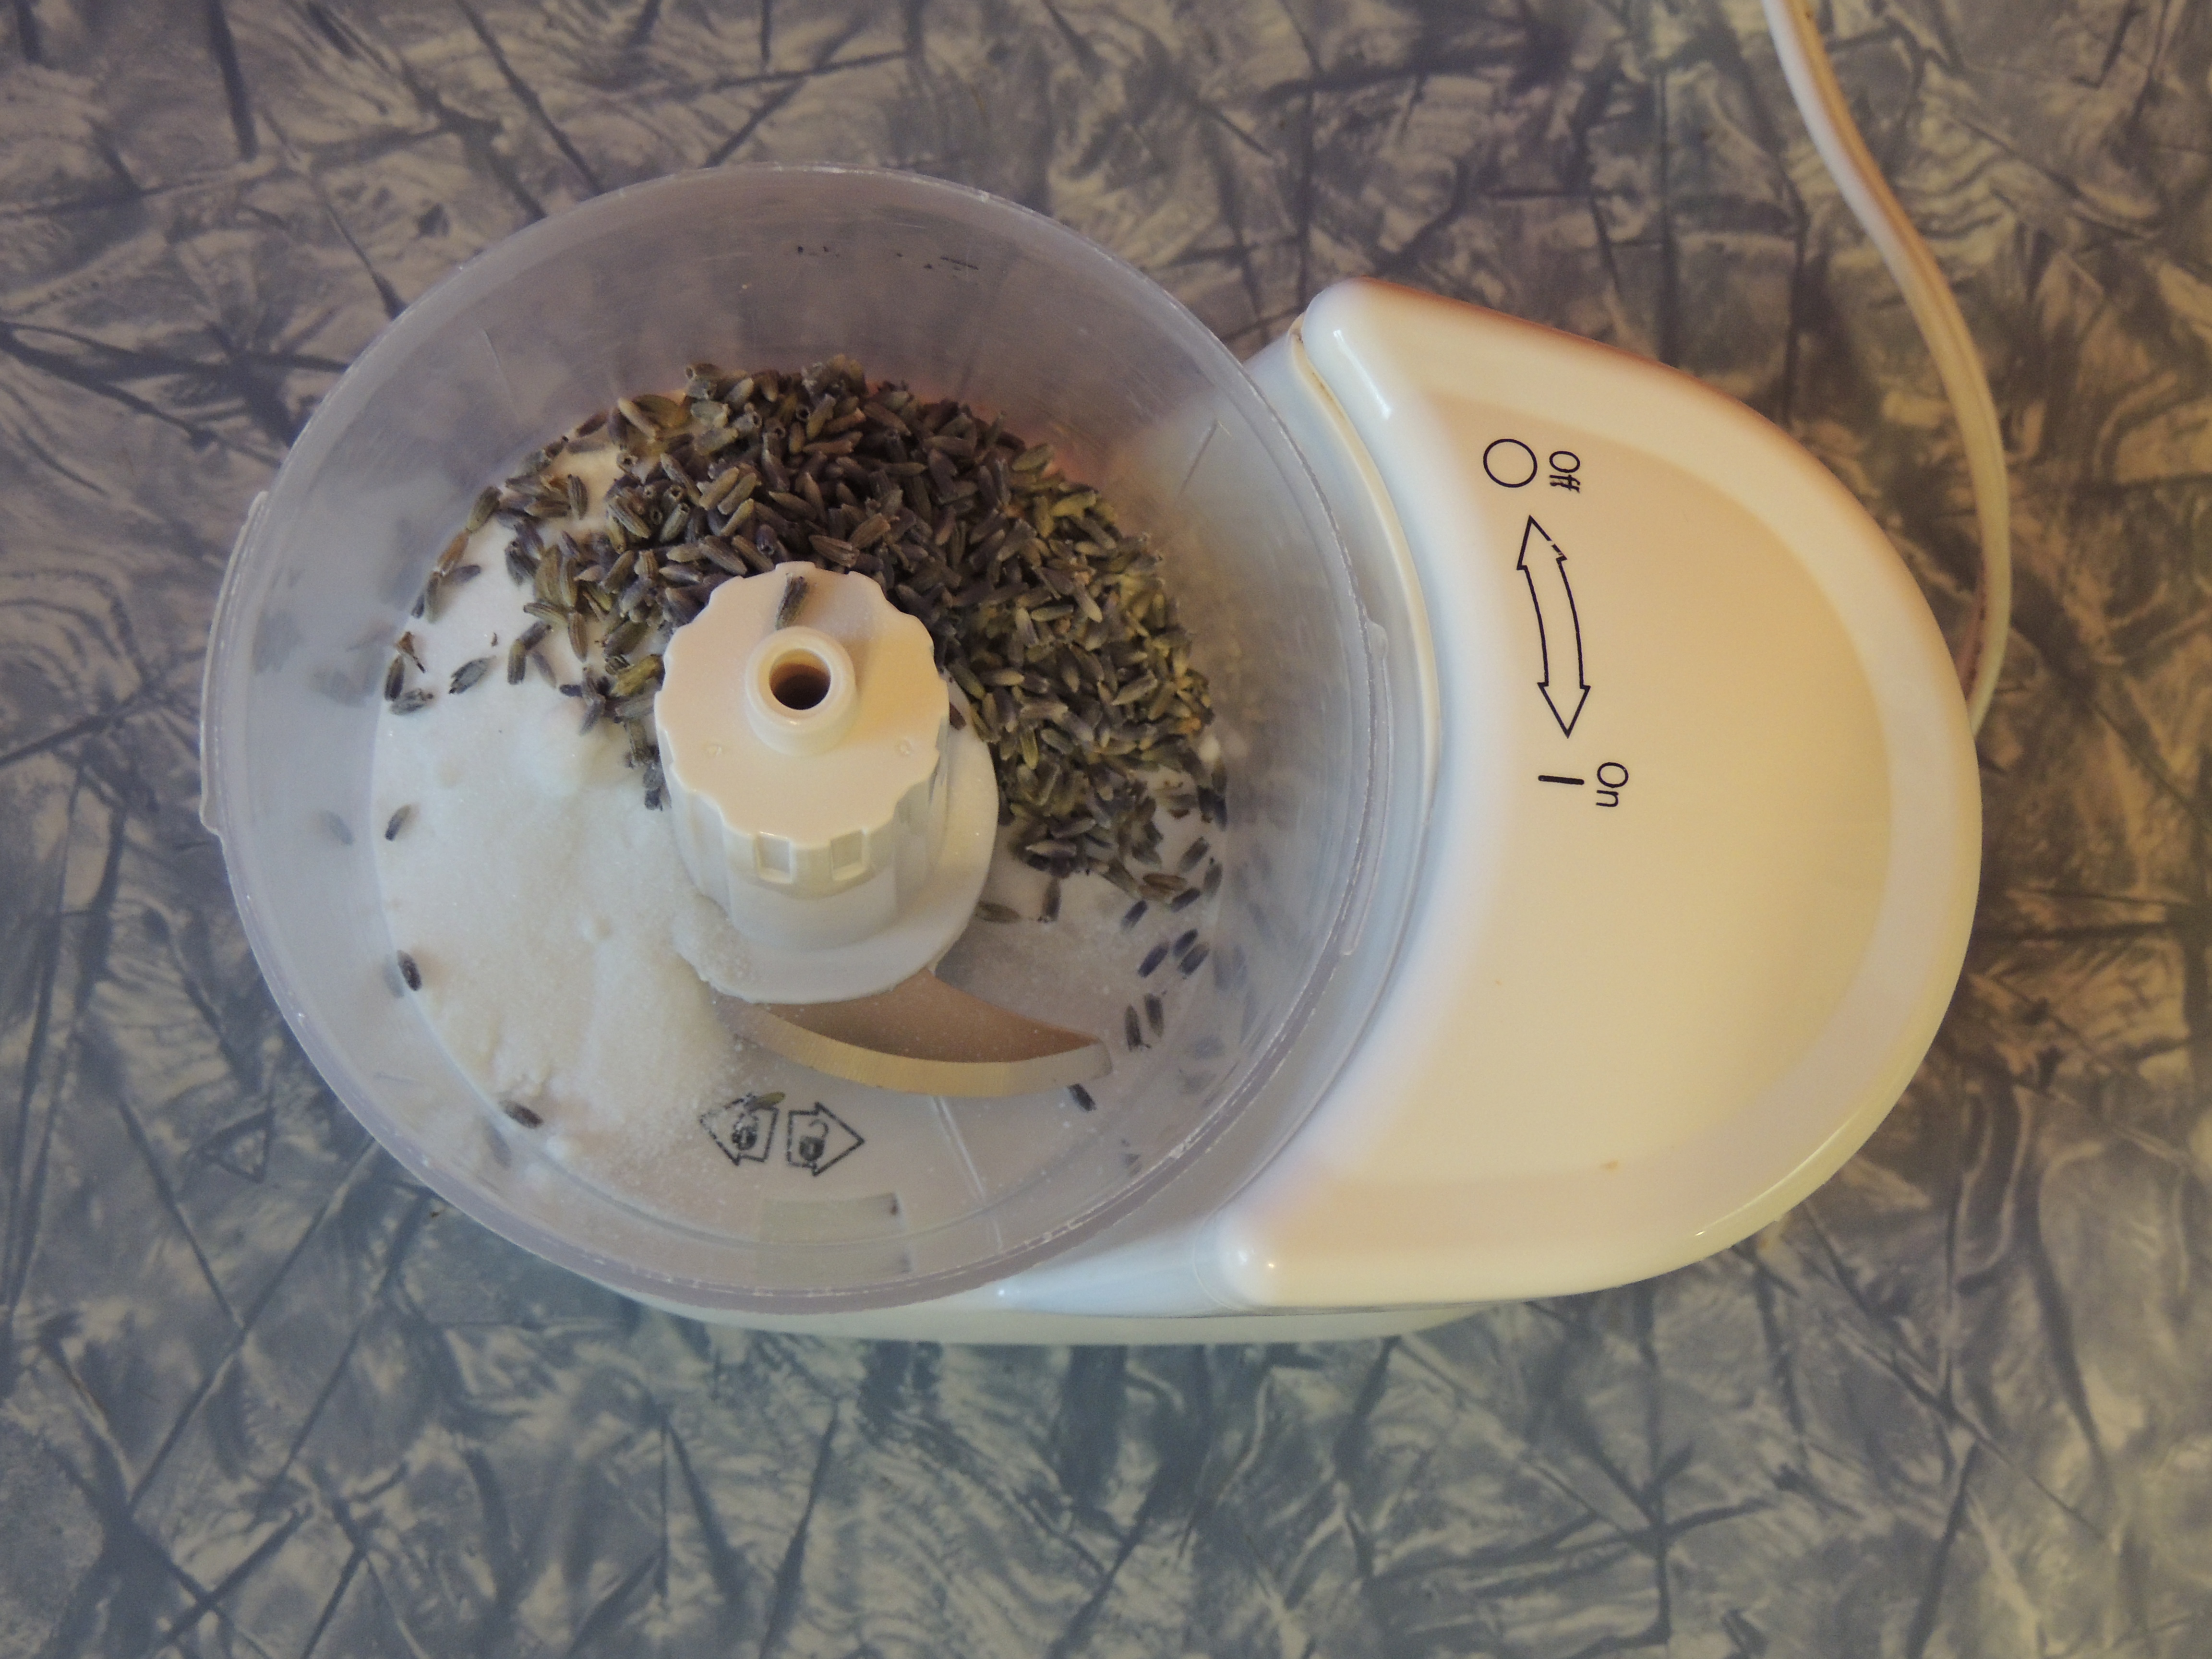
DSCN1201Put your 1/4 cup of sugar and lavender into your blender (i used a food processor), and blend for about a minute.


DSCN1205Add your lavender mixture to the rest of your sugar in an air tight container.


Allow the mixture to sit for 3 days to allow the lavender to infuse the sugar.


My kitchen smells amazing right now!


If you don't have a lavender farm near you, you can order products straight from the Thistledew Farms website! The small vial of lavender buds that I used is only $2 if you want to try and make your own lavender sugar.


You can learn more about why this family started Thistledew Farms here.


Have you tried lavender coffee? What did you think?


Let me know if you make this sugar, and what you think! I can't wait to try it in my coffee in a few days!


Thursday, July 25, 2013

One-Girl Bicycle Club


20130726-004551.jpg

Today I was excited to receive my One-Girl Bicycle Club zines in the mail. I just sat down with a cup of tea and read through all four issues.

This was my first time reading a zine, and now I'm intrigued. I love the freedom, honesty, raw emotions, and bravery that I found in Sonya's writing. I can relate to many topics that she talks about in her zine from college to driving, and making/keeping friends to getting out of your house. I enjoyed the progression from zine one to four, and the growth Sonya has done before my eyes in a few pages.

She has definitely inspired me to try my hand at making a zine, even if no one should ever read it, just for me to chronicle this time in my life. Sonya wrote a blog post on the benefits of writing a zine that's a must read.

A few of my favorite quotes from One-Girl Bicycle Club:

"Basically, I don't know how to function as an adult." Issue 4

"I want to be a maker of things. I don't want to work under people- I want to work for me..." Issue 3

"...but what if I need two copies of Bitch magazine and a book..." Issue 2

"Feminerdism (that's a word now)" Issue 1

There are so many more, but I guess you'll have to pick up your own copy! Also,check out all the rad playlists.

Do you read zines? Write zines? I'd love to check them out, leave a link in the comments.

Also, check Sonya out here:

Blog
Etsy
Twitter

Tuesday, May 14, 2013

Around Town: Fragrance of Heaven

I recently visited Cactus Alley where lots of fun businesses have moved in. Walking around the courtyard, Magen from Fragrance of Heaven invited me and my friends into her shop. I am a candle addict, and recently a scensy addict. I love it when my house smells yummy and brings the scents of the season inside.


20130514-193357.jpg

Magen explained that Fragrance of Heaven is not only a company, but a ministry and house of prayer. Each item in their shop is blessed and prayed over, and a scripture is placed on each item.


20130514-194859.jpg

They use a paraffin blend wax to give each candle a long burn and great scent. They also have a DIY pour station where you can create your own scents and pour your own candles.


20130514-195140.jpg

I bought four of the wax blocks to use in my scentsy warmers. So far I've tried the Mommy Time scent, and the Leather (which my husband loved). In my opinion they smell better than any other brands I've tried, and at a great price!


20130514-195812.jpg

Check out their Facebook page, Twitter , or stop by and create your own amazing candle!

Saturday, May 4, 2013

Blogosphere Reading List


20130504-122139.jpg

I wanted to share a few of my favorite blog posts this week. Happy Reading!

I've only had Chemex coffee once but it was fun and delicious.

May the Fourth Be With you goodies

Make a bandeau from old leggings!

I decided to try this foundation, and I think it's magical.

I love love Kara's art journaling classes! Here's her newest!

Hopefully Amelia will keep napping so I can get ready for a coffee date with my girlfriends, while Papacakes watches baby girl. We are trying a local coffee shop, but more on that later! Happy Saturday!

Saturday, November 3, 2012

DIY: A Cute Baby Shower Thank You


I  was looking for a simple, cheap, and cute thank you for the girls at work who were throwing me a baby shower. I wanted something useful/yummy that they could take home with them. I usually bake cookies, but lately I've been really short on time, and who doesn't like chocolate?! I saw this idea over at The New Domestic. Their version is kinda fancier, but I like my simple version using things I had on hand. I used things I already had on hand and only had to buy the chocolate bars. Look through your supplies and be creative!


Supplies:


  • scrapbook paper (fabric would be cute too)

  • clear tape (you could try glue, but I didn't want to wait for it to dry)

  • marker (stickers would be cute)

  • paper doilies (you could also use ribbon, yarn, washi tape, stickers...)

  • something to cut with

  • chocolate bars wrapped in foil and removable label (these were actually very hard to find. but most specialty chocolates are still wrapped in foil)


Step 1: Get your chocolate naked!


Be very careful removing the label, mine was glued to the foil a bit.


Step 2: Measuring


Flip your scrapbook paper over so you don't mark on the pretty side. Use one of the chocolate labels and just trace around or make marks for cutting.


Step 3: Cutting


I have this nifty little paper cutter from when I made our wedding invites, but a ruler and scissors works (or just trace and cut free hand on the line).


Step 4: Tape and Fold


Lay your chocolate face down on your scrapbook paper, fold an edge over and tape somewhere near the center on the back. Pull the paper tight to get a crisp edge and tape the other side down.


To get a crisp edge, run your fingers down the sides and crease the paper with the edge of the chocolate (just like wrapping a present).


Step 5: Decorate


Using these little paper doilies, I measure where the best spot would be to write.


I just used my sharpie and wrote a quick thanks in the center.


Next, I just taped the edges on the back.


And voila! All finished!